Images have become powerful tools in shaping opinions, spreading information, and sometimes, misleading the public.
In this social media era, where photos can be easily manipulated or taken out of context, it is important to know how to verify an image’s authenticity.
A recent instance of disinformation using a manipulated photo was the case of Ghana‘s Minister of Communications, Digital Technology and Innovations, Samuel Nartey George, who was portrayed as watching X-rated content (pornography) while on the floor of parliament.
Click here to read our report on the incident.
Understanding how to check the source and original use of an image is useful for journalists and fact-checkers and essential for students, professionals, and anyone who consumes content online.
One effective method for verifying images is by using Reverse Image Search. This digital verification tool allows users:
- To trace where an image has appeared on the internet
- How it has been used and
- whether it has been altered or misrepresented.
Simply upload an image or paste its URL into the reverse image search engine, and one can discover its history, original source, and related versions. This process is particularly helpful in identifying old images being recycled to support new, misleading claims or narratives.
How to Use Google Reverse Image Search – Step-by-Step Guide
Step 1: Visit Google Images
Go to https://google.com in your web browser.
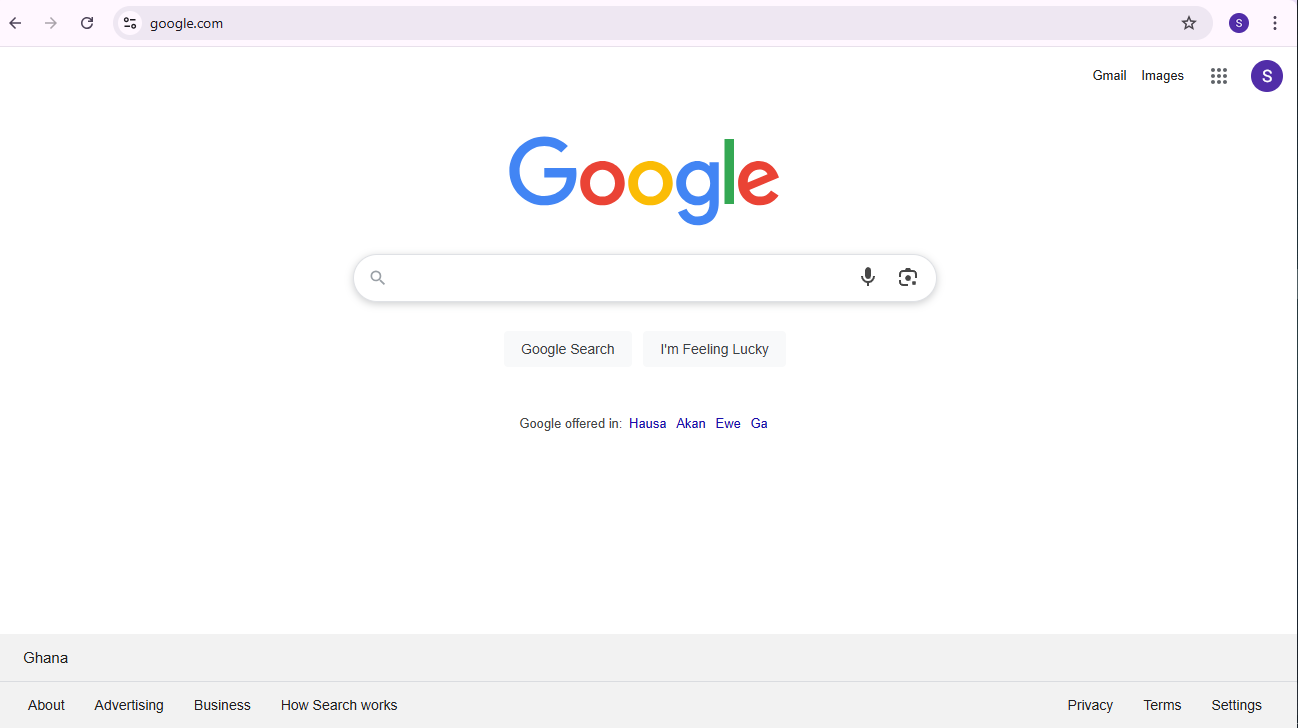
Step 2: Click the Camera Icon
On the right-hand side of the search bar, click the camera icon. This opens the reverse image search options.
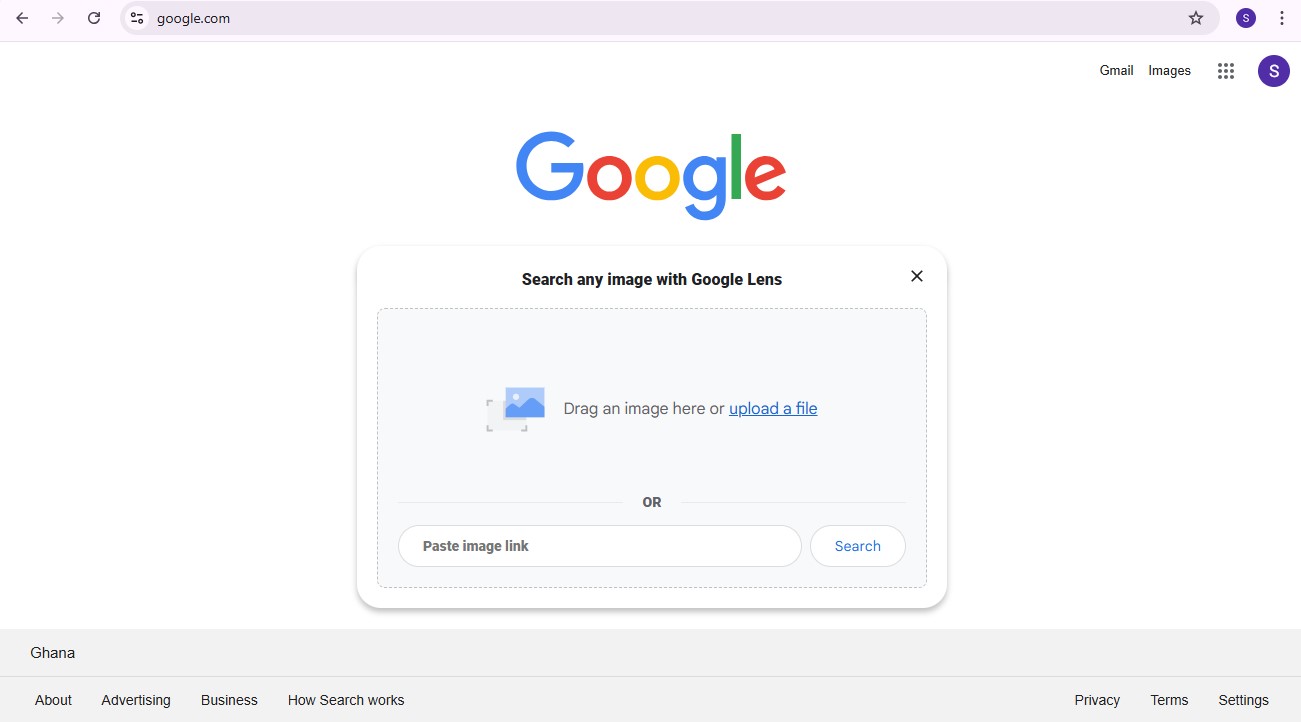
Step 3: Choose an Option to Upload the Image
You will see two options:
- Paste image link: If the image is already online, copy its link and paste it here.
- Upload an image: If the image is saved on your device, click “Upload a file” and select the image. In this example, we used the Upload file option to upload the image we want to verify.
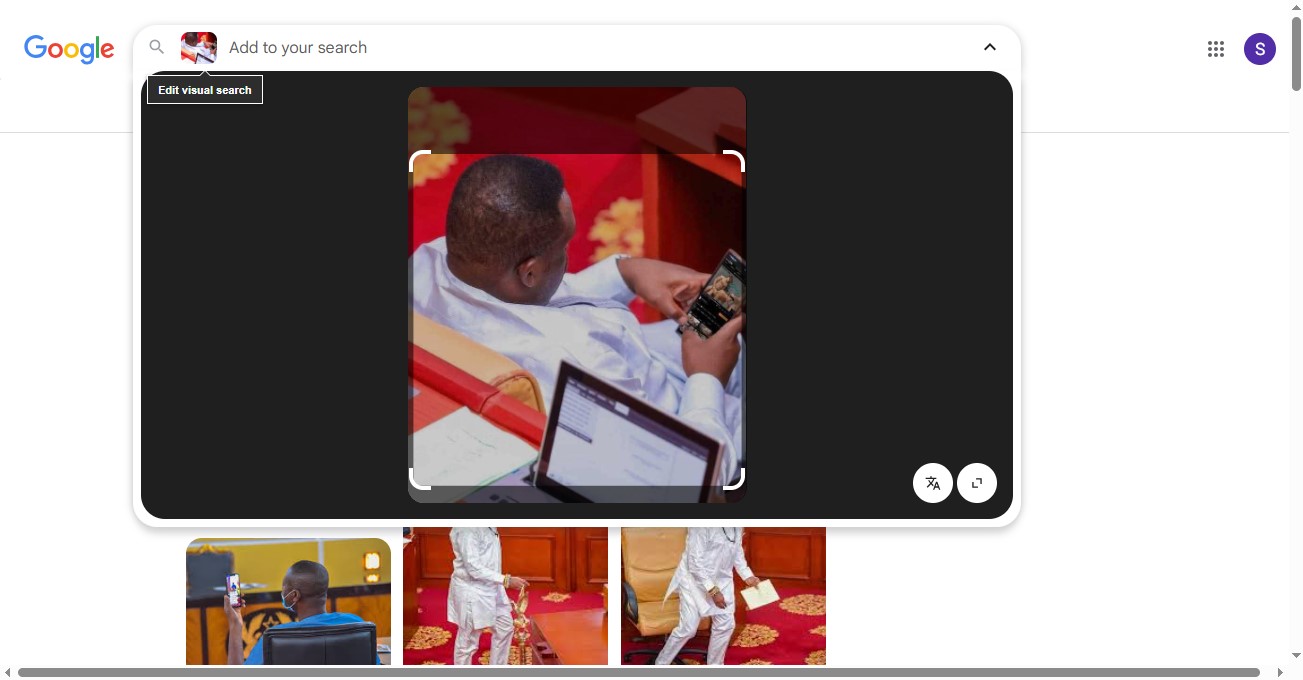
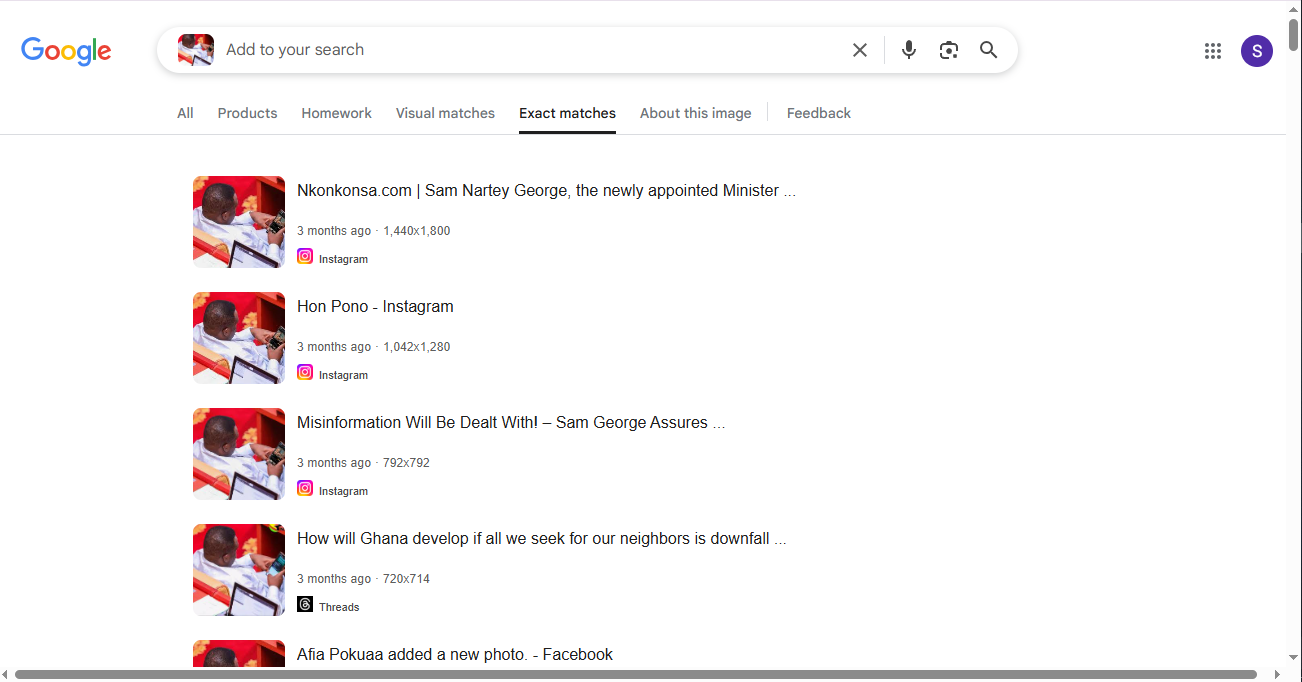
Step 4: View the Search Results
- After submitting the image, Google will display:
- Visually similar images
- Web pages that include the image
- A brief description of the image, if Google can identify it
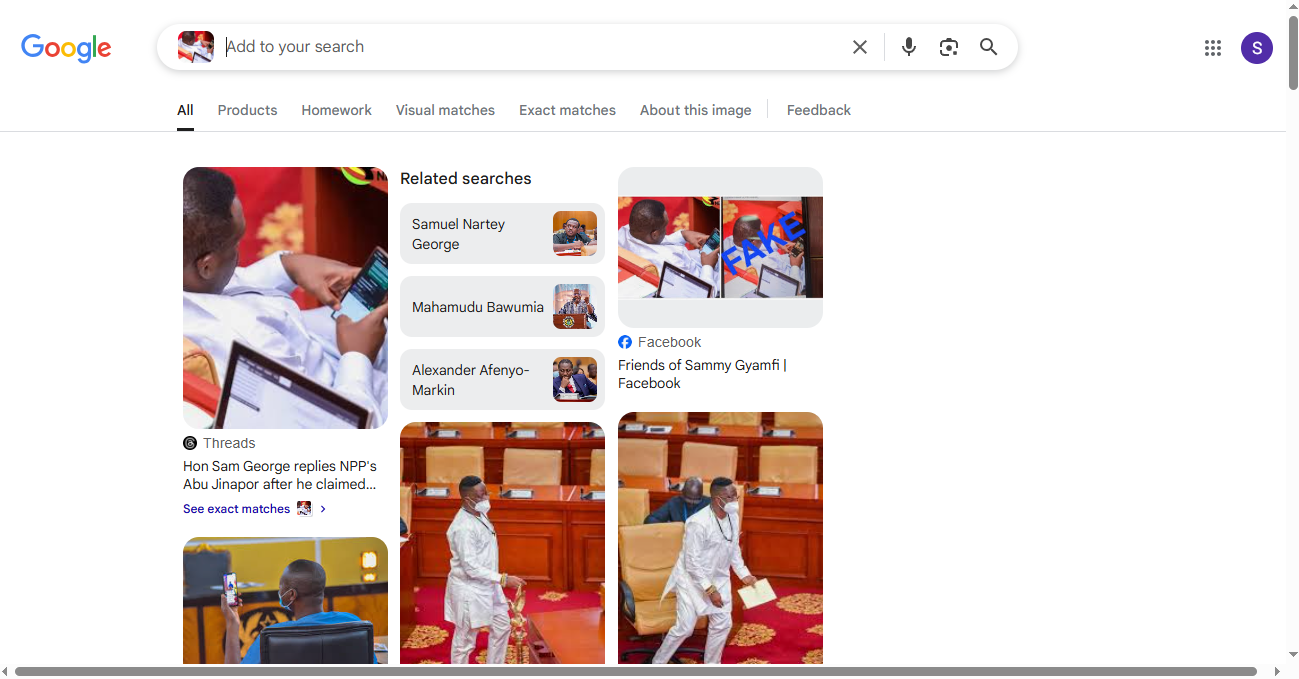
Step 5: Analyse the Results
- Check the dates of the web pages that show the image to see when it was first used or published.
- Read the surrounding content on those websites to understand the context in which the image appeared.
- Look for trusted sources (e.g., news outlets, official sites) that used the image, and compare how the image is described across platforms.
Step 6: Draw Your Conclusion
After checking the publication dates, context, and multiple sources, decide whether the image is original, old, edited, or taken out of context. This final step helps you avoid sharing misleading visuals.
In relation to the manipulated photo of Sam George, the results of our reverse image search, showed that the original image was first shared by TV3 on Thread, showing Members of Parliament on the floor of parliament. Further analysis revealed that the circulating version had been manipulated, with the screen in the photo edited to display a pornographic scene. Shortly after the viral video started circulating online, TV3 debunked the altered image on its X handle, and Sam George also responded on both Facebook and X, sharing the original and doctored images to expose the disinformation.
Alternative platforms such as TinEye, Yandex, and Bing Visual Search offer similar services and can provide different or additional results.
Developing the habit of verifying images before sharing them helps reduce the spread of false information and promotes responsible digital behavior.
In this digital environment where visuals can be deceptive, reverse image search serves as a practical tool for seeking the truth. By taking a few moments to investigate the origin of an image, you are contributing to a more informed and media-literate society.
Written by Samuel Nii Adjetey

